< Back
Texturing sculpties in Blender part #1 - Texture painting
I'm rather a noob in Blender, thats why I want to make this tutorial that explain some of the basics to get started..
First I want to make my sculpty used for this tutorial, I start with sculptypaint.
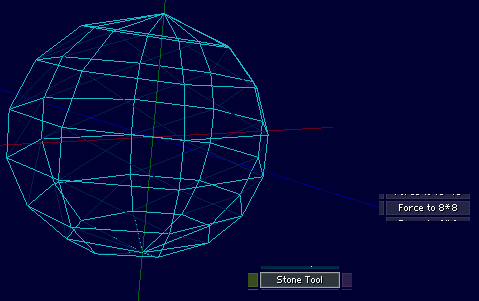
A start with a default sphere, and in the Stone-Tool I force my sphere to 8x8. I press it several times. (to fix the top and bottom pole)
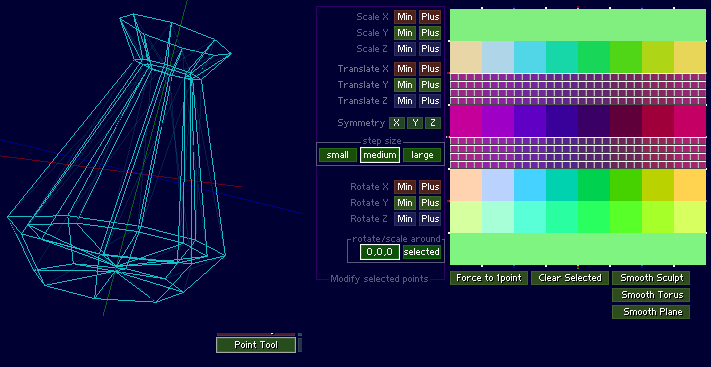
Next in the PointTool, I start to translate and scale these different point-blocks. Working with a low-resolution model, enables me to modify and create a basic shape much faster.
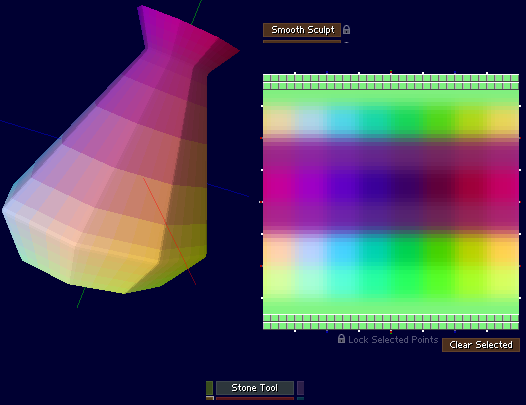
In the Morph-Tool, I lock my poles and start smoothing the rest of the model now.
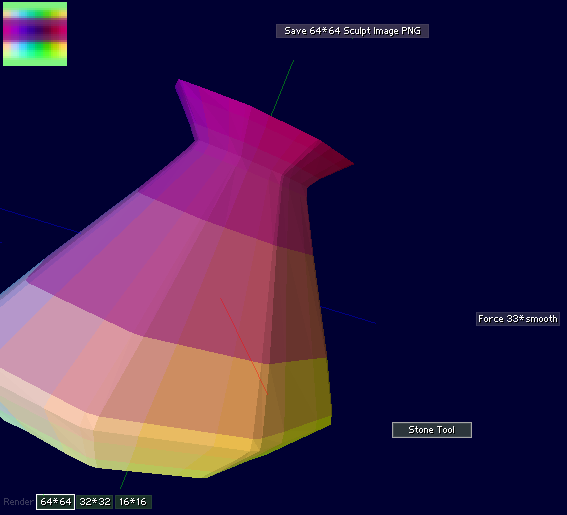
Next in the StoneTool, I force my model to 33xSmooth, I get now a sculpty that almost is the same as SecondLife. And save my sculpty as a 64x64 png.
Next in photoshop or like the Gimp I load this sculptimage, and save it as 64x64 .TGA this needed for the next fase! Blender
Blender Download Check list:
#01- Download and install Python
Python is needed for a lot of the plugins and scripts in blender so its best to install Python first on your computer.
#02- Download and install Blender
#03- Get Domino Marama's sculpty plugins for blender
Copy the .py files to your Blender scripts directory as listed below. (In the correct folder where you installed blender)
Linux: ~/.blender/scripts
Mac: /Applications/blender/blender.app/Contents/MacOS/.blender/scripts/
Windows: c:\Program Files\Blender Foundation\Blender\.blender\scripts
More information about this plugin can be found on the SecondLife forums;
Blender Sculptie Import & Export Scripts

When I start blender I get the message python is installed! Good.
Blender.. started
Well Blender can be really confusing and frustrating when you start, since you can get lost real easy, with all these options and buttons. Somehow its really easy to change all kinds of functions really fast, like pressing a shortcut-key by accident, or select/deselect a certain object by accident.
Second all those tools are strangly connected in 'wierd'?! ways, like if I go to from the object-tool to the texture-paint tool, I get different results then going from the object-tool, to the edit-tool, then the texture-paint tool. Real scary first, but dont fear.
Let start with some basics first..
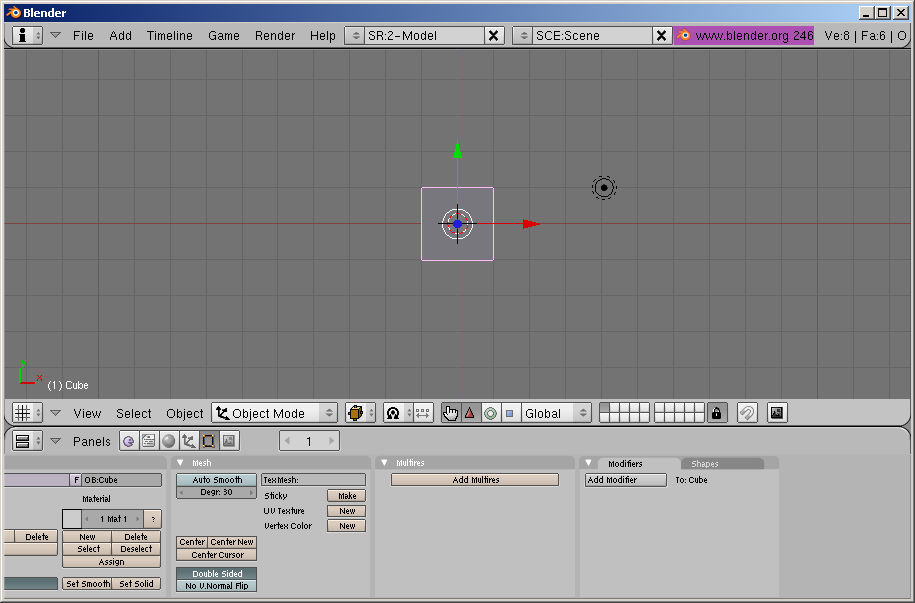
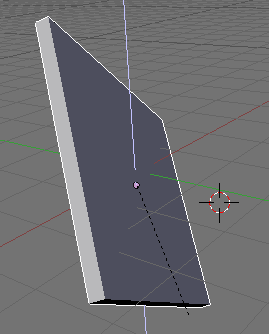
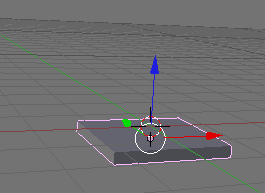
When you start with blender, or do File->'New' you start with a default cube in the middle.
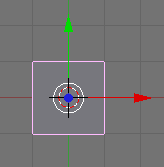
Use the Red(X) Green(Y) or Blue(Z) arrow to move the cube. Around.

Pressing Alt and the leftmouse button (windows), I can rotate and look around this cube. And with my mousewheel, I can zoom in and out.
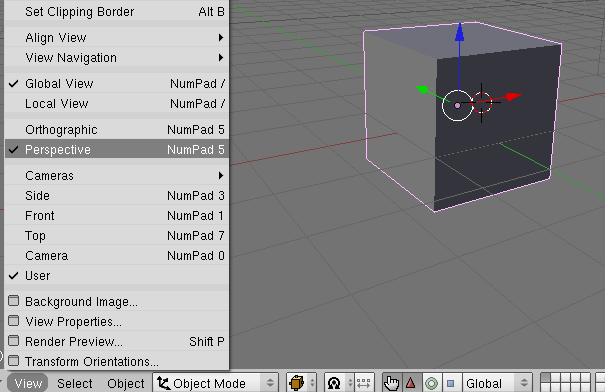
In the View I can set the view to Perspective.. Something I prefer.
A lot of the options in blender are connected to your keyboard, lets start with the basic ones.
Scale: 's'-Key
If you press the s-Key you can scale the model; press escape to exit. control-z to undo the last move. Left-click to acknoledge the last change.
But! If you just want to scale in X; Press the 's' key and next the 'x' key next. This will just scale the model on the X-axe
's' then 'x' key -> Scale on X (red)
's' then 'y' key -> Scale on Y (green)
's' then 'z' key -> Scale on Z (blue)
Try scaling the model on the X, Y and Z-axe.
Rotate: 'r'-Key
If you press the 'r'-Key you can rotate the model.
'r' then 'x' key -> Rotate on X (red)
'r' then 'y' key -> Rotate on Y (green)
'r' then 'z' key -> Rotate on Z (blue)
Try Rotating the model on the X, Y and Z-axe.
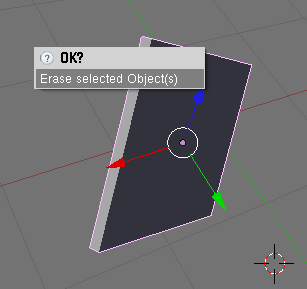
Next I delete my cube with the 'Delete' button.
And if everything is proper installed, I can load my sculpty using the sculpty import
plugin from Domino Marama.
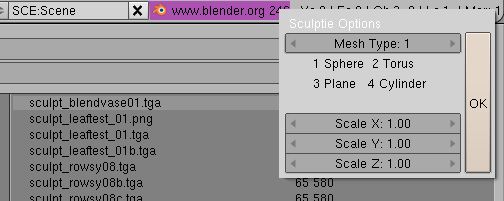
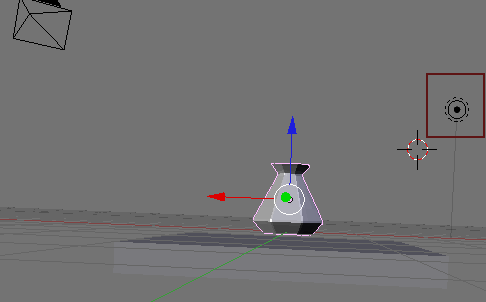
I select my sculpty vase I created before! And press ok
My sculpties when saved in sculptypaint.. well always are rotated a bit wrong; you can rotate it on the red X-axe pressing 'r' then 'x'
I can scale it a bit on the Z as well pressing 's' then 'z'
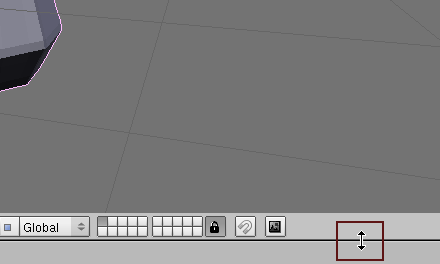
Next I'm going to split the viewing area.. into different screens. I right-click on the black-line to split the screen.
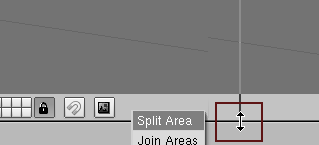
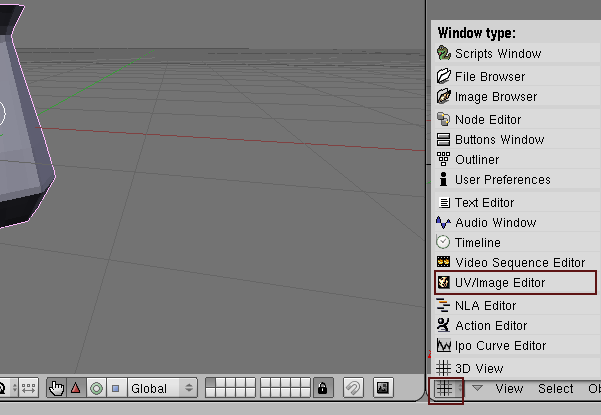
When I manage to split my screen, I select 'UV/Image' Editor in my right Window.
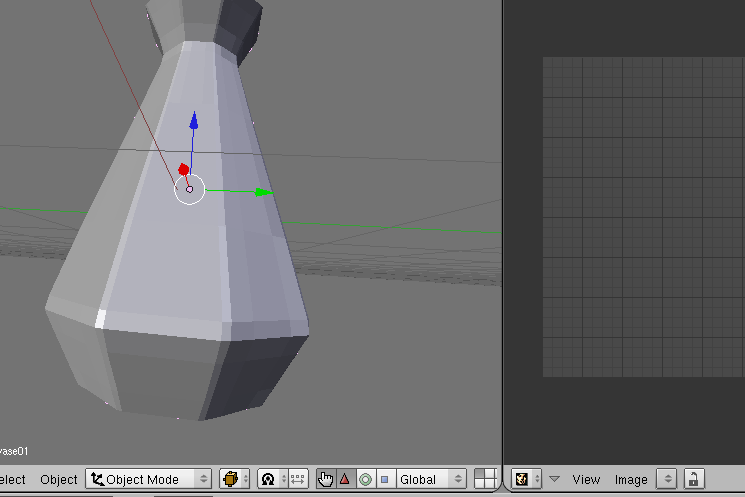
Make sure your 3D model (the vase here) is selected. Rightclick an object to select it in blender.
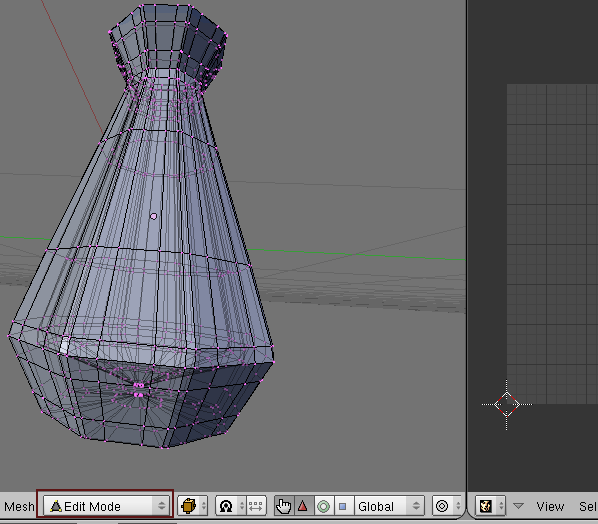
Next I select the Edit Mode.
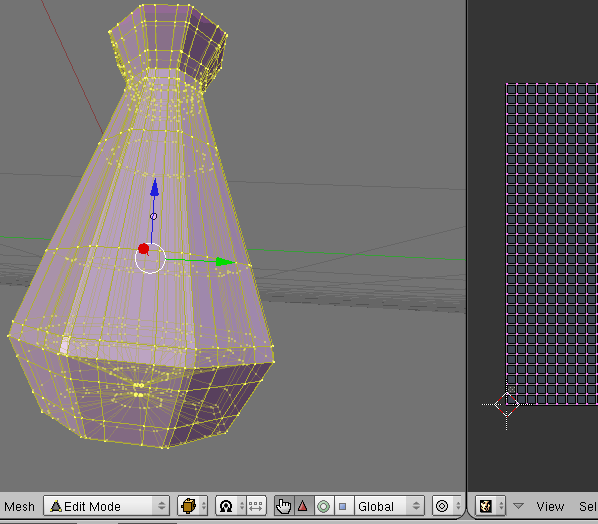
When I press the 'a' button, I select all my points... They light-up to yellow, (pressing the 'a' key can select or deselect all the points of this model) Make sure they are selected.
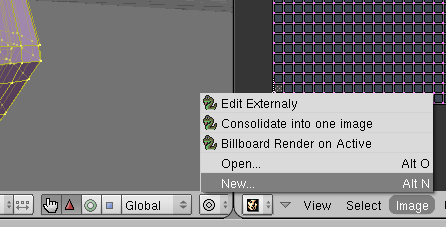
Next In the UV/Image Editor I create a new image.
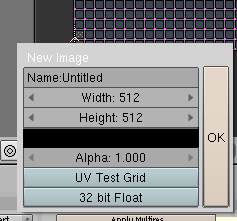
For me a 512x512 image is fine..
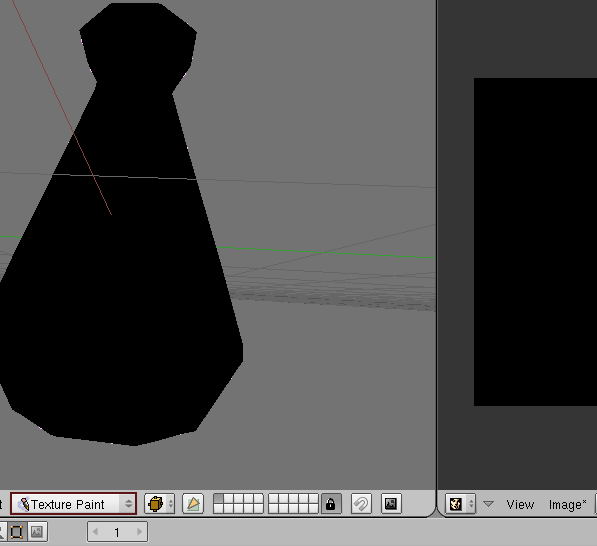
After I created the image, I switch to texturepaint.
I can directly draw onto the 3D model now on the left.
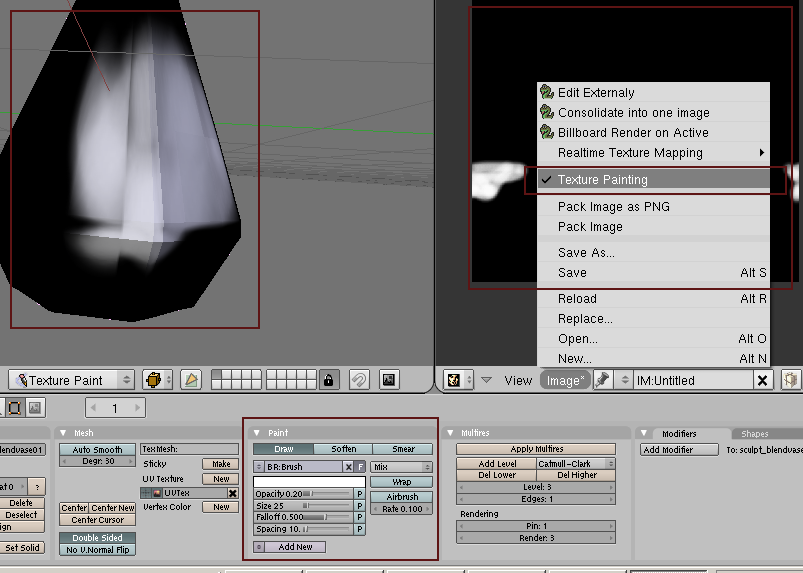
When I enable Texture Painting in the UV/Image I can draw on my texture on the right as well.
In the paint tab; I can change my brush/color and the different drawing options. Change the brush opacity, soften/smear etc.
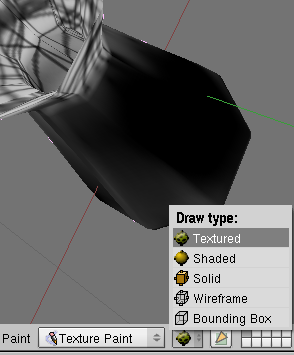
Setting the Drawtype view to Textured shows my model better.
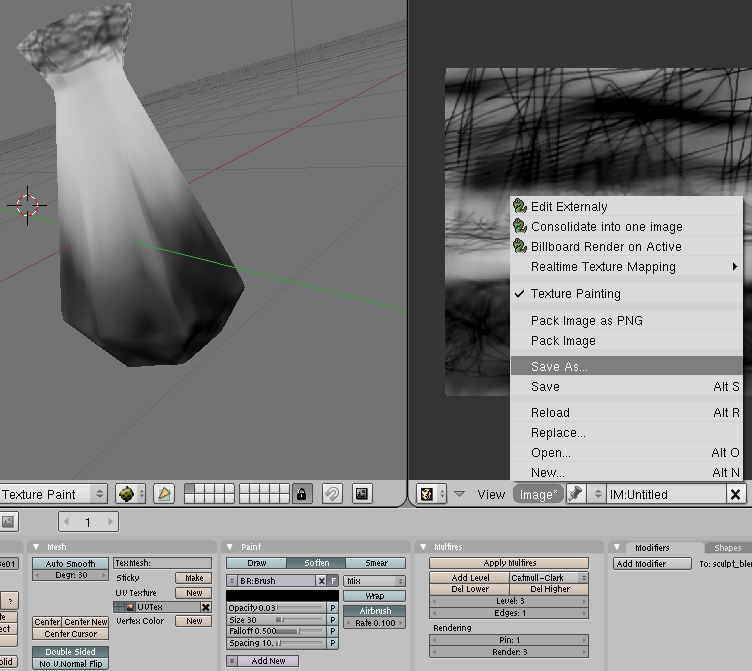
I Play around a bit, with the drawing, and save my texture I created.
Texturing sculpties in Blender part #2 - Texture baking
I start with a new file again, File -> New. Erase all.
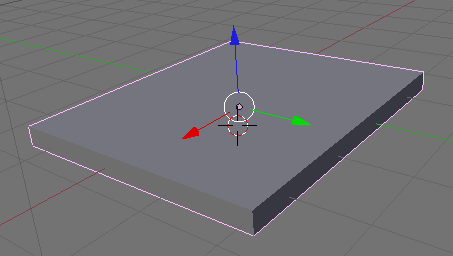
Next I scale the cube you start with a bit on the Z-axe. (press 's' then 'z' to scale it on the Z-axe.)
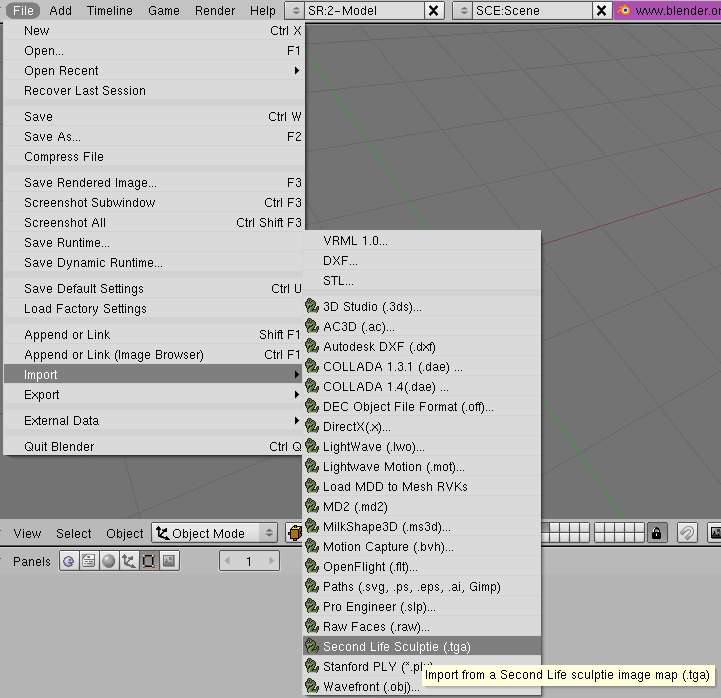
Import my sculpty File -> Import -> SecondLife Sculpty (TGA)
And rotate my sculpty on the x-axe ('r' then 'x' to rotate on the X-axe)
After that I want to select the light.. Thats the round icon on the right.
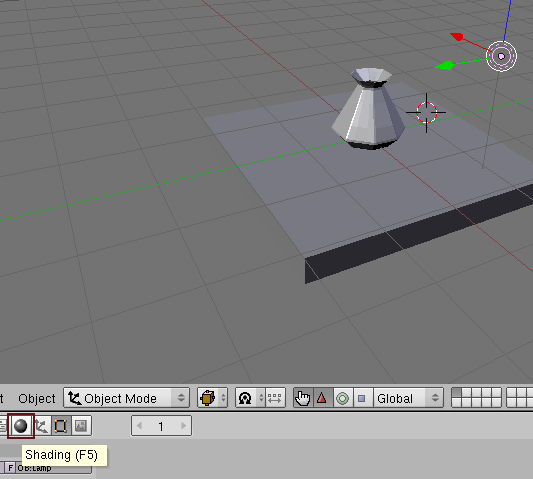
When the light is selected.. I can press the shading icon
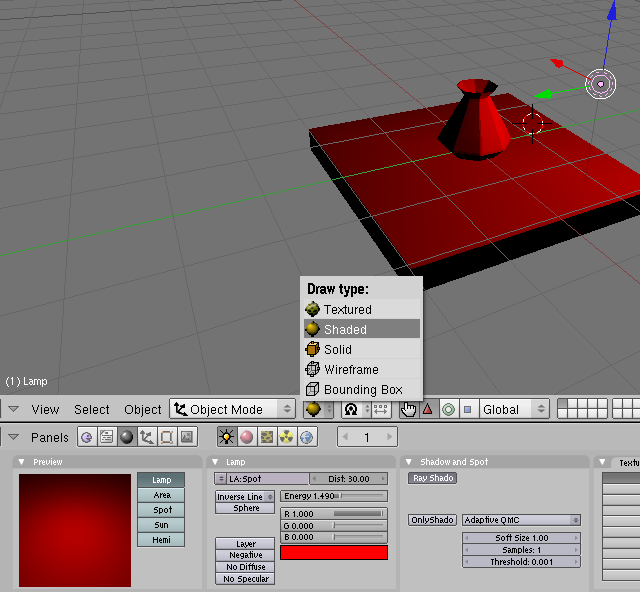
Setting the view to 'shaded' shows the colors.. in the bottom Panel I can change the lightning all kinds of ways.
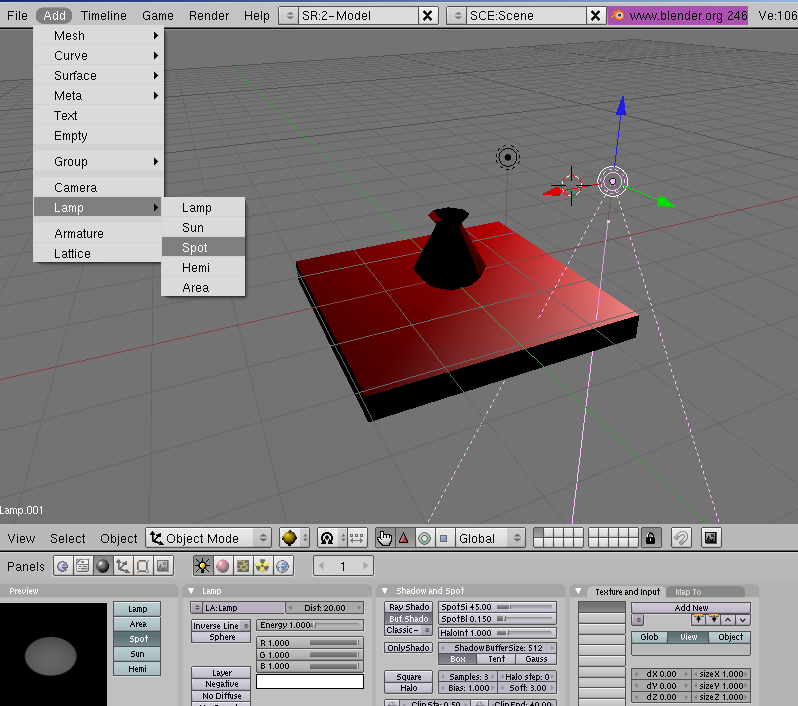
Next I add 2 more spot lights. I rotate the lights incase, using the 'r' button for rotate, then press 'x' 'y' or 'z' next to rotate the spot on that axe.
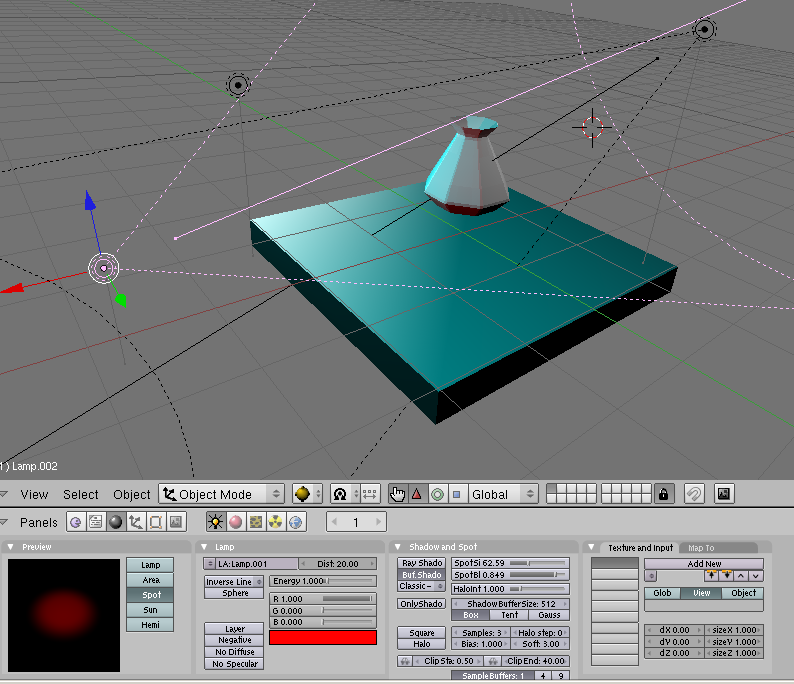
In the shading panel, I can change the light in all kinds of ways, the hotspot, type falloff the colors of the light and can choose between Ray-traced shadows (better?!) or like the Buffered shadows.
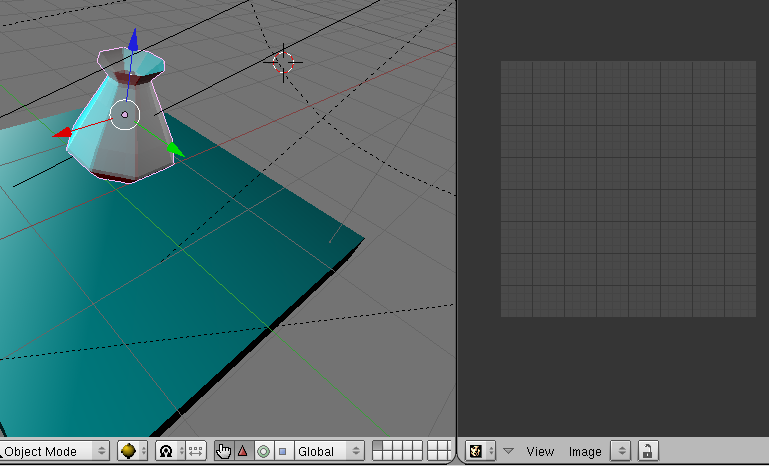
Next I select my sculpty, and split the screens. On the right part of the screen I select the UV/Image editor.

In this Scene Panel is this Bake button I want to use!
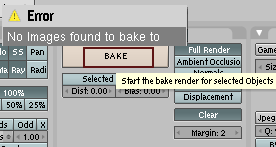
But if I press the bake button, I just get this error. 'No Image found to bake to.
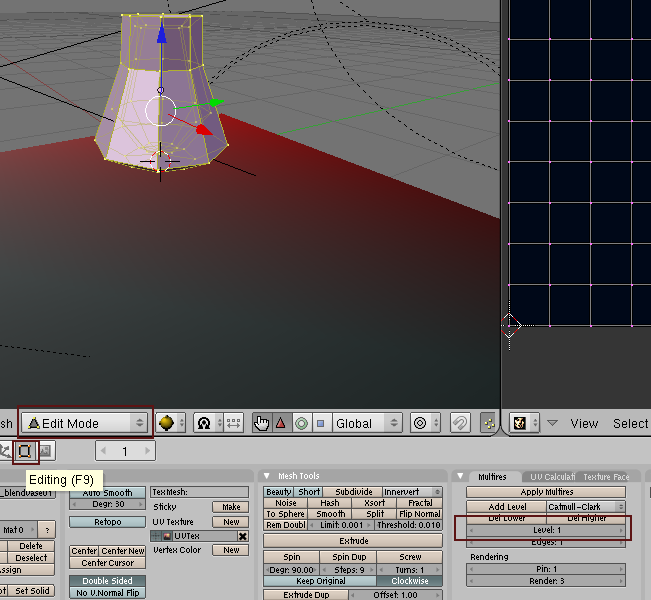
The only way I can bake at the moment is it seems;
#01 Go to the Edit Mode
#02 Select the Editing Panel next
#03 In Multires, I change my model from Level: 3 into Level: 1
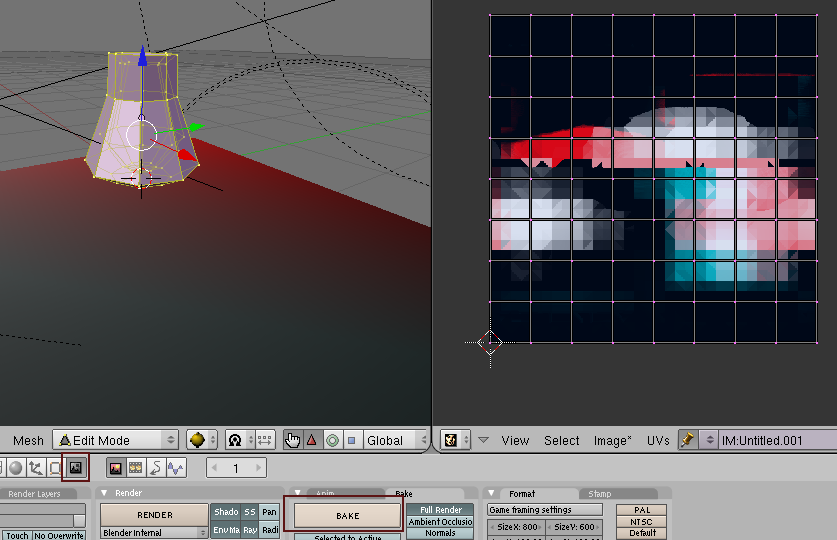
Next I go back to the Scene panel, make sure you got an new (black) image selected at the UV screen, incase no image there, Select Image new, and create a new (like 512x512) black image.. then try pressing the bake button.
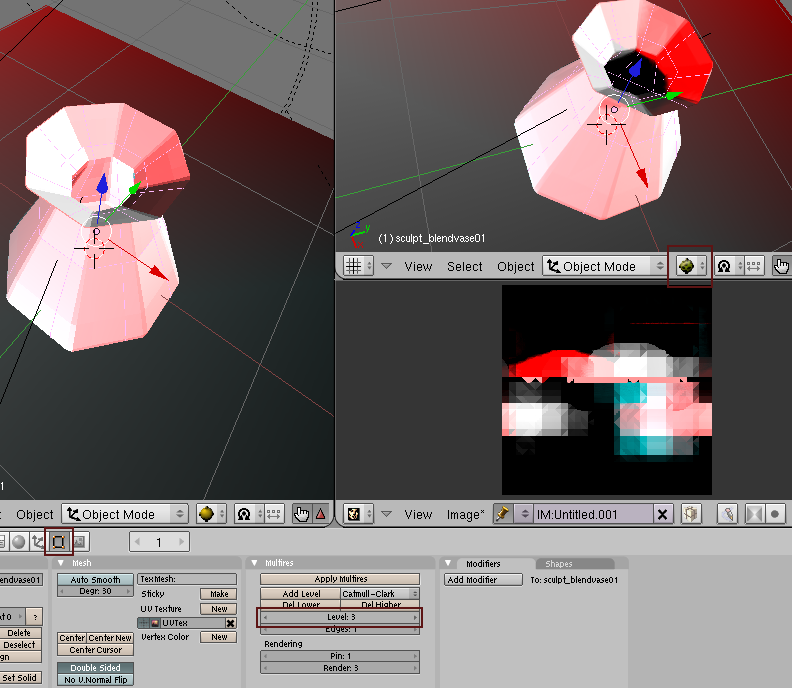
In the Editing panel, I can put back my Multires back to Level:3
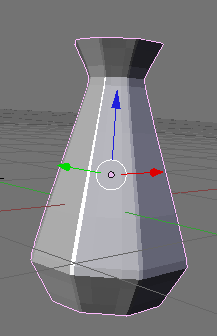
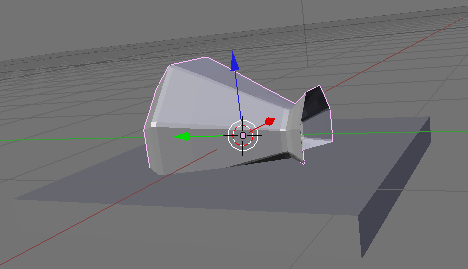
I split my screen one more time, and show there my 3D model textured, while my model on the left shows as 'shaded'. Nice for reference.
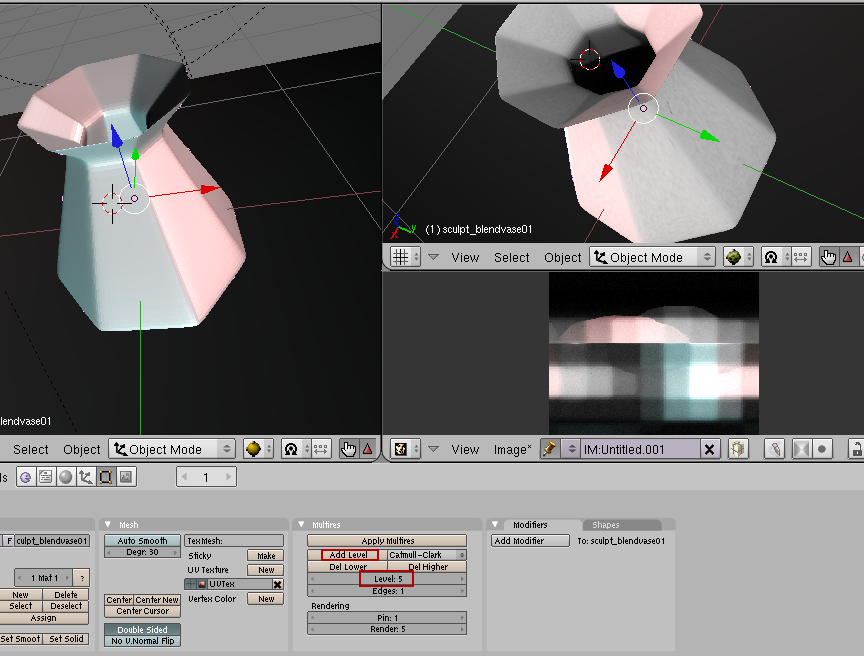
When Add one or 2 more levels in Multilevel, my 3D model gets higher detailed. But when I bake again it will take more time to render. Remember to select the model (the sculpty vase) again, before you want to rebake the texture.
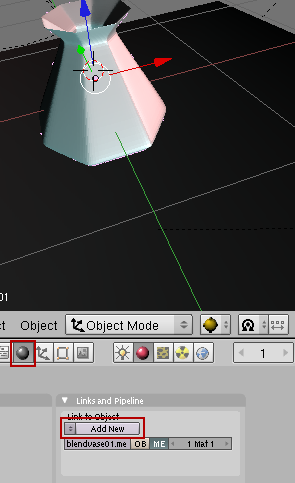
I can add a material for my vase.
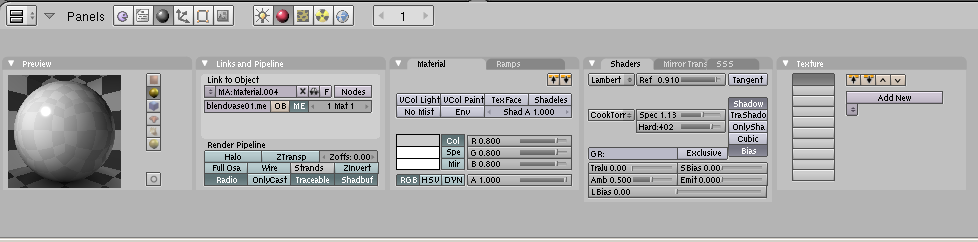
In the shader part I can do all kinds of wierd material stuff, like the light reflection of the model. Actually here the random playing really starts.
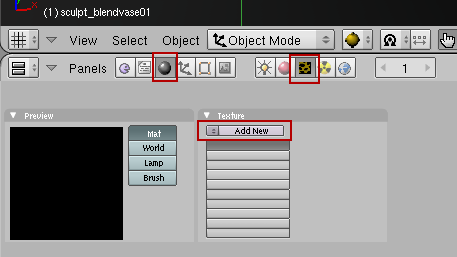
Add textures
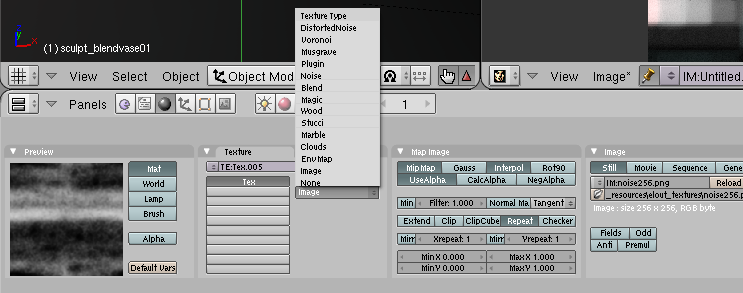
Use your own textures, or play around with the procedural ones. Change the ligths again, select the 3D model again and rebake the texture.
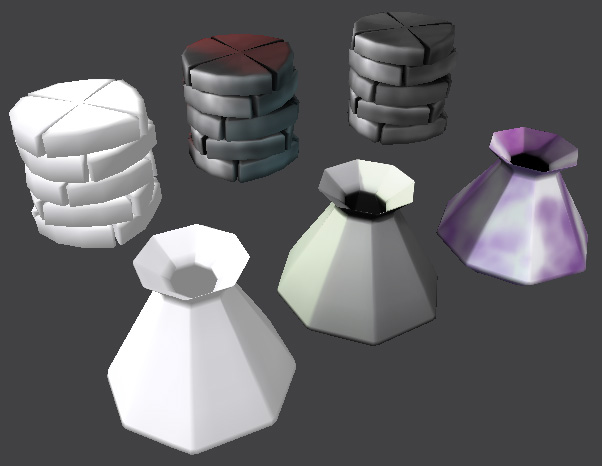
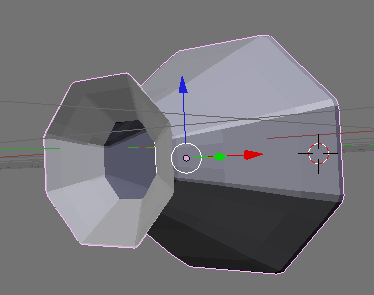
Here some first test in SecondLife; on the beta-grid. A default sculpty on the left, and some with the baked textures created with blender. And you can mix/finetune the baked textures a bit in photoshop or the gimp as well.
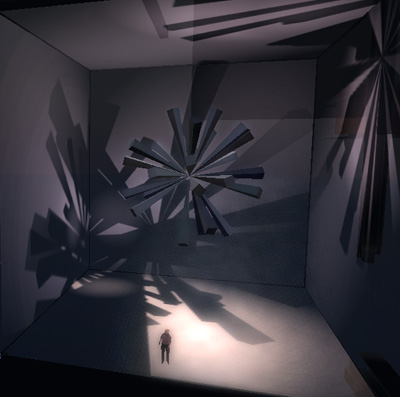
the baked shadows on the walls are created in blender.
< Back