< Back
SculptyPaint - Reference Tutorial
I created this tutorial for PatrickHufschmid Beaumont (sl) he also build guitars IRL. www.hufschmidguitars.com
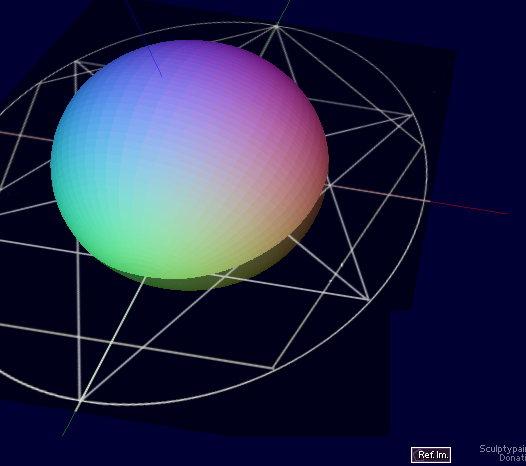
New in '93 is the reference image, put it on selecting [Ref.Im]

I prepare another reference image, I use the exact half of the guitar, and make the white background transparent. Save it as a transparent .png file

Next I drag and drop my picture onto sculptypaint to load it, and I choose [load as a Reference Image (.png)]

In the StoneTool, I [Reset to Plane] and press [Force 33xhard] a couple of times.
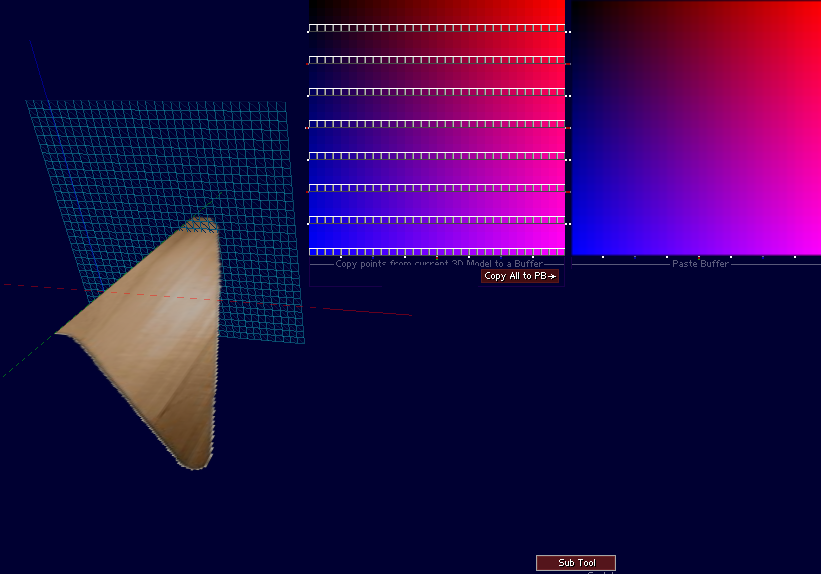
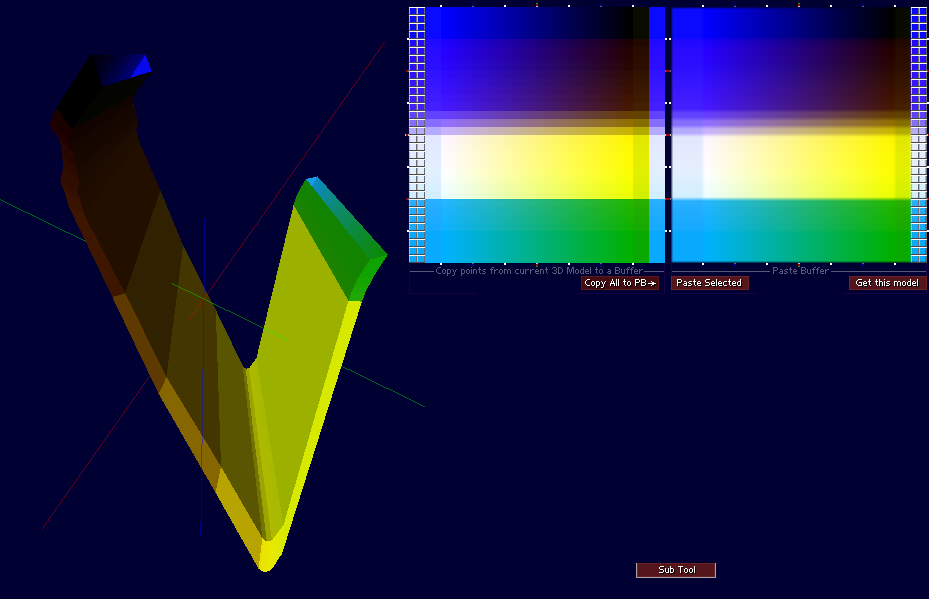
In the Sub Tool, I [Copy All to PB] and select the reference points I want to copy next.
I want a 32x8 plane sculpty so I copy my points from the right to the left pressing [paste selected]. Also mousepress and drag and release makes it easy to (de)select those points.
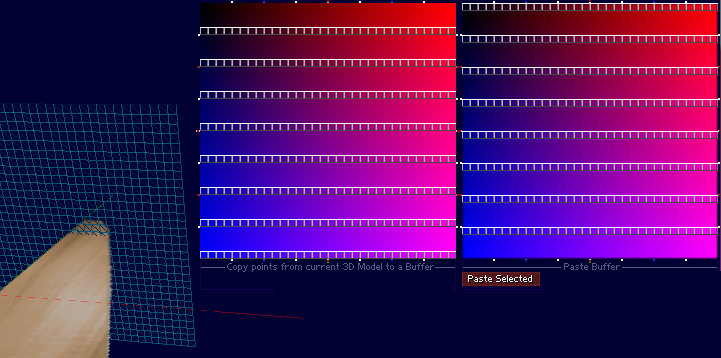
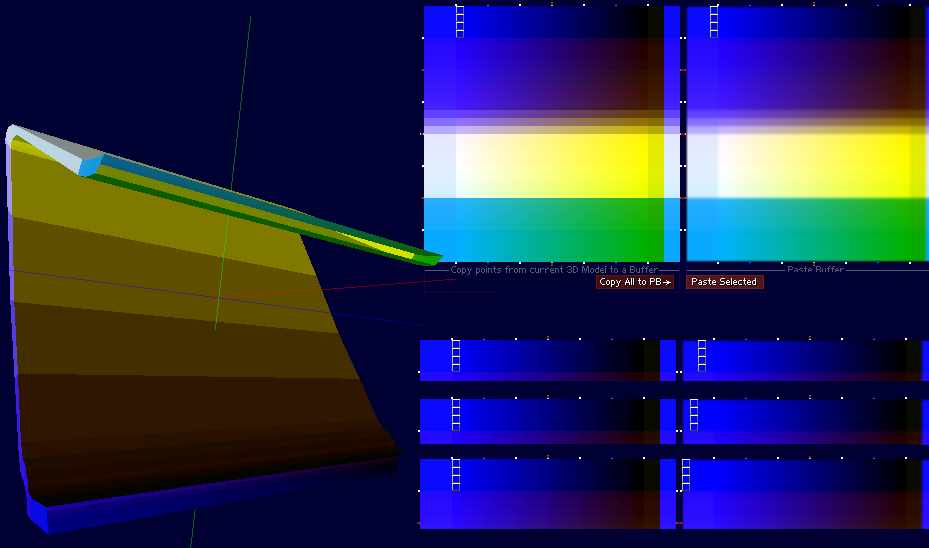
Copy the points to the 2nd rows.
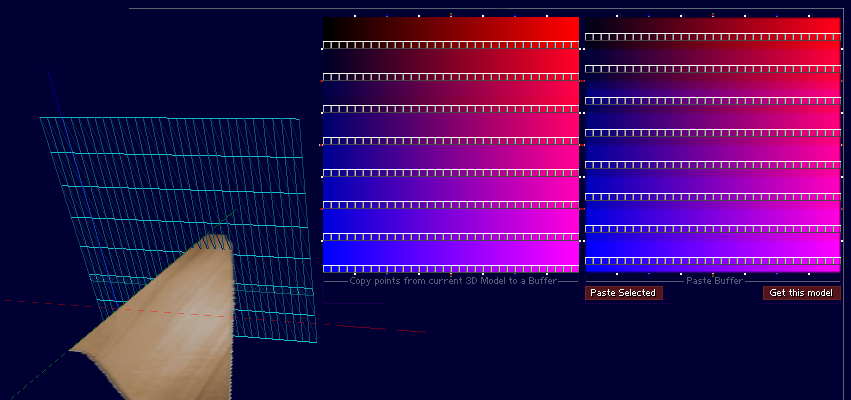
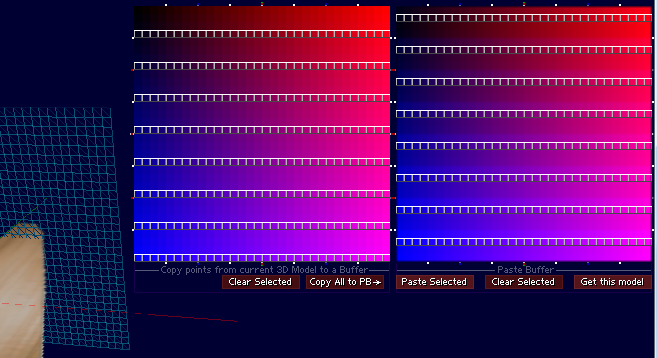
I Copy to the third row [Paste Selected] next I press [Get this model]
I got myself a 32x8 sculpty now, save this image incase you want to use this for other future shapes (for your personal sculpt-shape library to use again).
I wrote the subtool, since before that I did this kind of work in the gimp/photoshop.
It could be usefull saving now and then a backup, and/or copy the model in the A of B buffer from the Morphtool
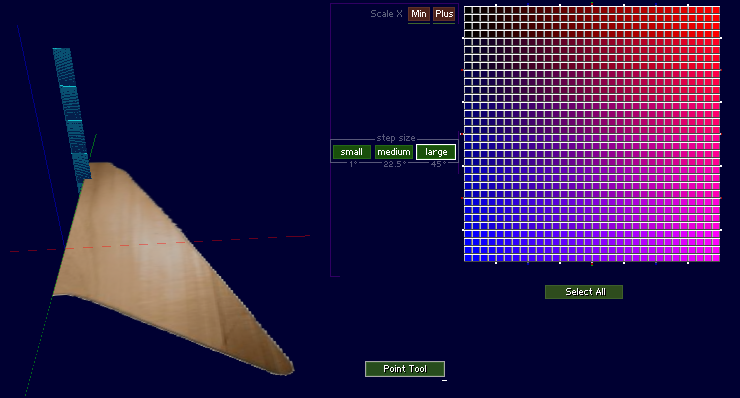
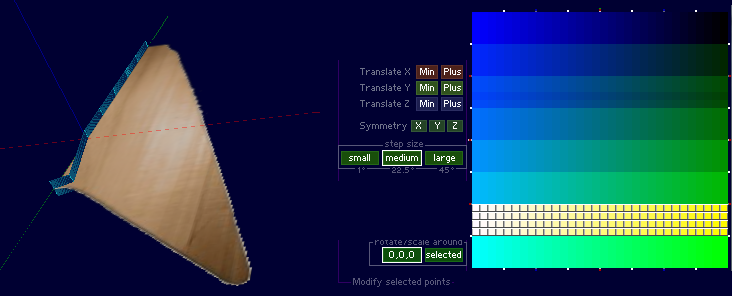
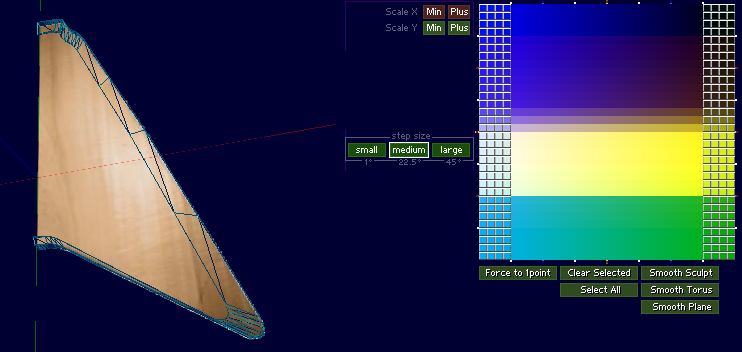
In the point tool, I [select all] the points and scale the shape on X.
In the point tool, I select Step size [large]
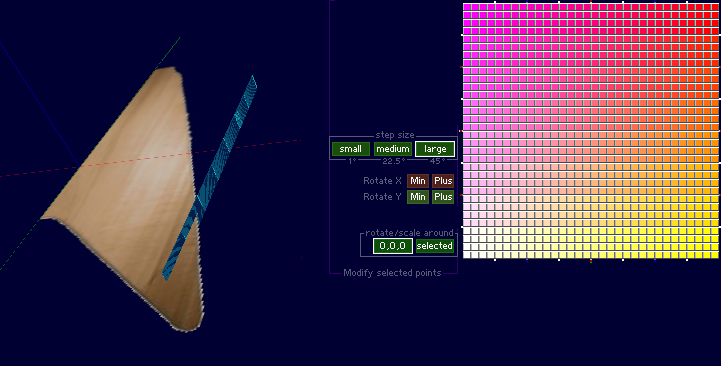
and [Rotate] all the points 2 times on X and then 2 times on Y. (step size large is like rotate on 45 degrees)
I translate my points a bit. Also with stepsize on [large] and Scaling a couple of times on [X] to get all my point in the middle.
Next I`m going to translate the point blocks.
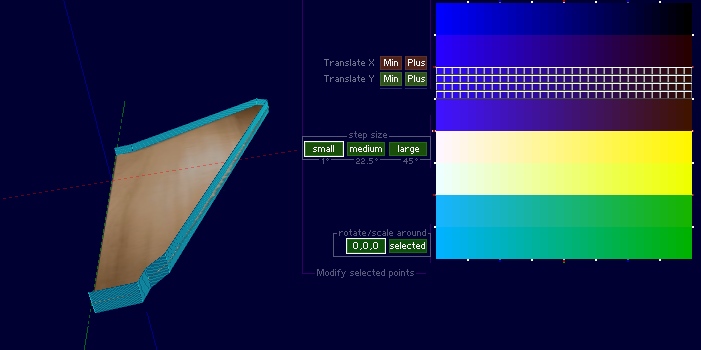
I translate all the 8 point blocks.

I select now 3 of the 4 block points and going to translate them to fine detail.
And selecting individual point rows translating them to make the curve.
Until all the individual point rows are translated to make the curve.
I want to close my shape, so I select the left and right row, and scale these a bit on X and Y.

And translate these on X and Y.

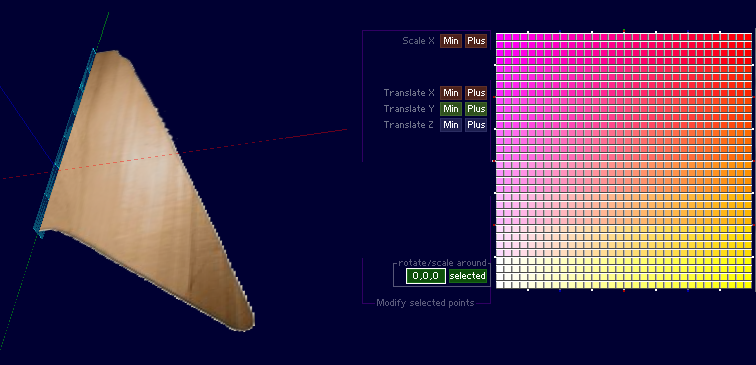
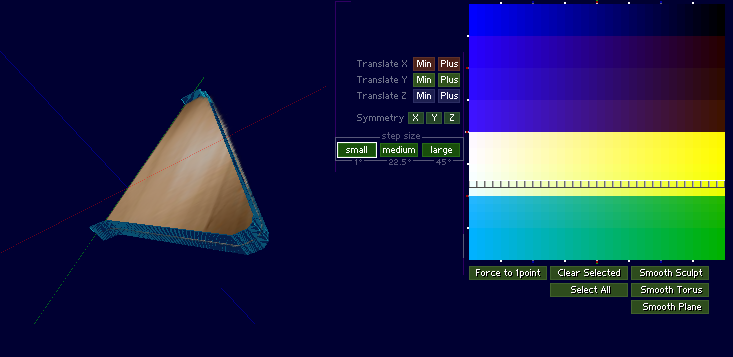
I select all the points and scale the whole model larger on Z now.
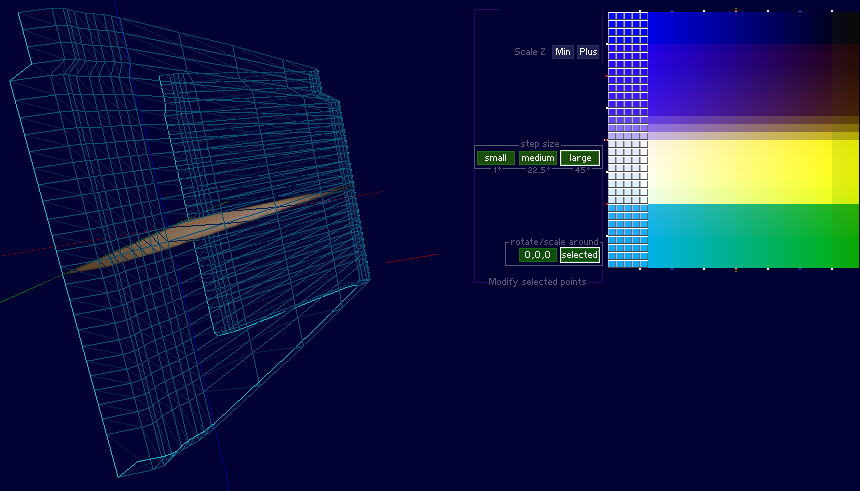
I select the first 5 rows now, and set Rotate/scale around [selected].
Next with stepsize on large I scale these points 'flat' on the Z. pressing Scale Z about 10+ times so they are on the same position on Z.
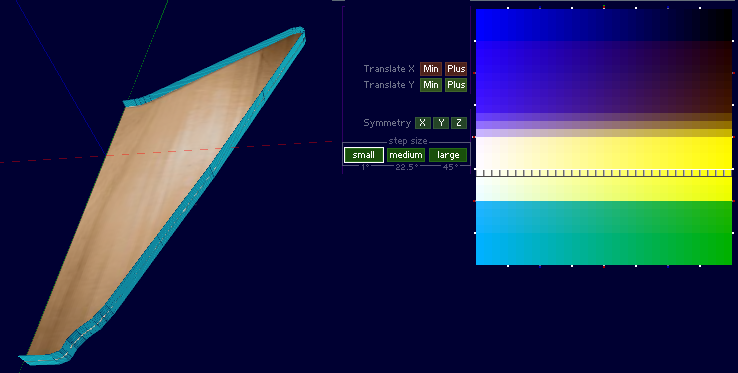
And translate them back on Z a bit.

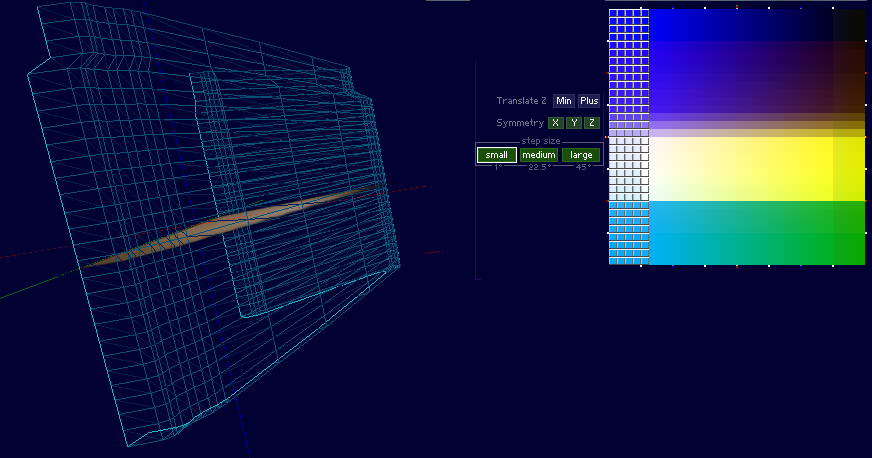
Same for the right rows, Scale around selected on Z, stepsize on large and scale them flat together on Z.
And translate them back a bit on Z-axe.
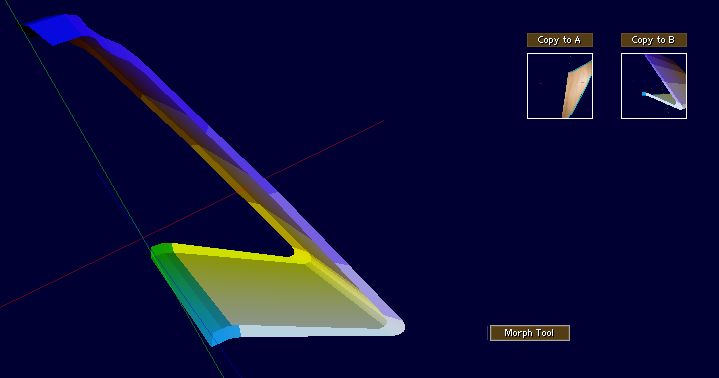
I want to close my shape, regular I make also a backup in the A or B buffer of the Morph Tool, just incase.
I go to the SubTool and select[Copy All to PB].
Next I select the 2 left rows and [Paste Selected] to the right part of the model.
Next [Get this model] and the shape is closed now.
Just now the top is still open
[Copy All to PB] and I`m going to select the corner point now, copy these to right 4 times.
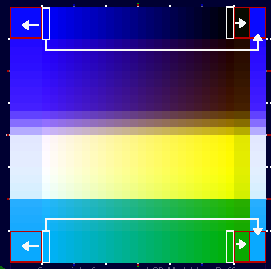
This is the idea, copying the 4 outside corner points, and close them down for the inside part.
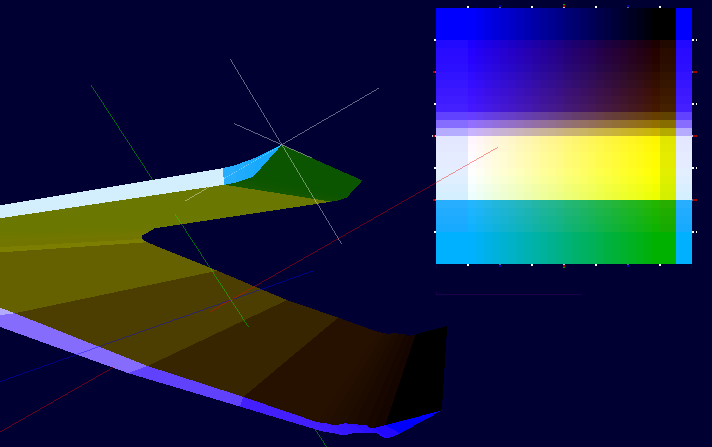
[Get this model] After all the corner points are copied to the sides. For the final Sculpty.
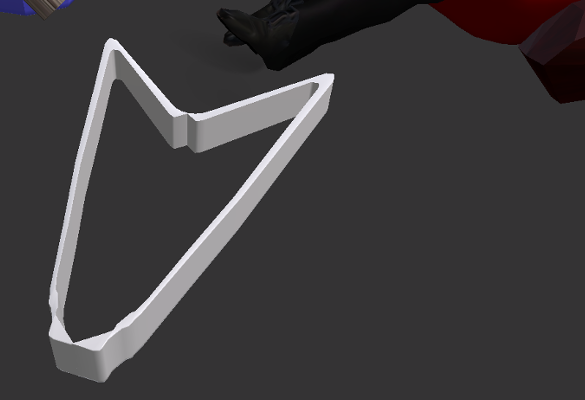
Testing it in SL.
< Back