< Back
Cel Edmans fun tutorial part#2: Pofmouwtjes?!? 30 jul '07
This tutorial started somehow, at a Dutch Second Life forum post (dutch language) since Jinta at the forum was wondering how you could make 'pofmouwtjes' She also showed an example picture, she wanted to create herself as well. Don't know the english word / translation for this word 'pofmouwtjes' (google images) since in dutch it's a kind of a strange word I never seen before, but maybe popular in the fashion bizz? Like Gucci 2006 designs re-used this fairy type of style it seems.
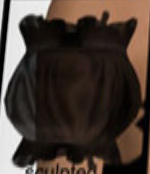
After some discussion, how you maybe can create this; make a sphere and give it a nice texture etc. people sort of found out it was sculpted, and noticed the half cropped 'sculpted' words at the bottom. I don't know where Jinta got the screens from but I guess a cloth designer in second life using sculpted prims to create this fine piece of clothing design. (Any users that can give me links to this creator is appreciated)
Then everyone in the forum post got kind of depressed, and give up.. Since it was sculpted; and impossible to create for any 'normal' user. Since it seems you got to be an ace, or have a masters degree in computergraphics, worked for years in the hollywood industry to create impressive 3D effects in maya that can cost several 1000th of $ etc. This means forget about it.
Mm. Cel Edman put on his special 'S' (Sculptypaint) T-shirt on, and decided to create a tutorial. Writing the tutorial itself took about 10 times more then creating the actual 3D-model in sculptypaint, but anyway doing this for the public, helping distressed people out in case they need help and support. I imagine like there kitty is high up a tree-branch, and want 'pofmouwtjes' now! before it will come down. To the resque!
Note: screenshots were taken in v.09 sculptypaint, but can be done in v.08 currently available for download.
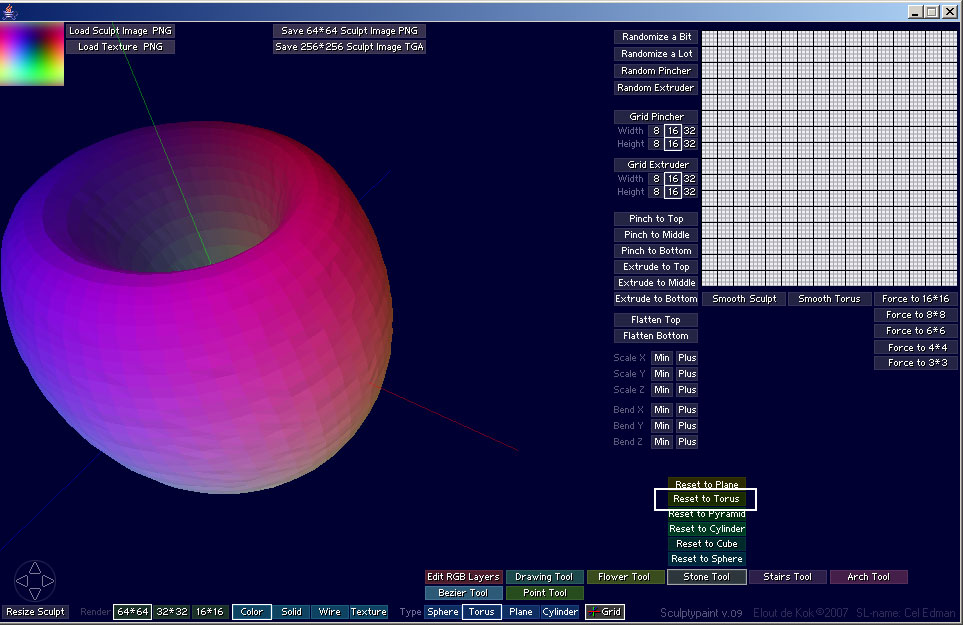
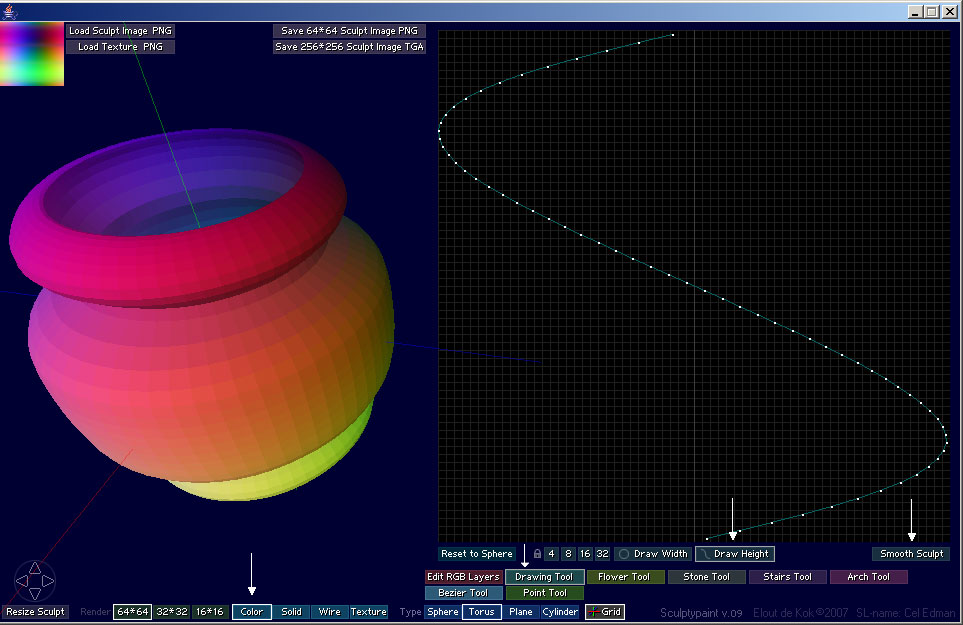
Go to the 'StoneTool' and 'Reset to Torus'
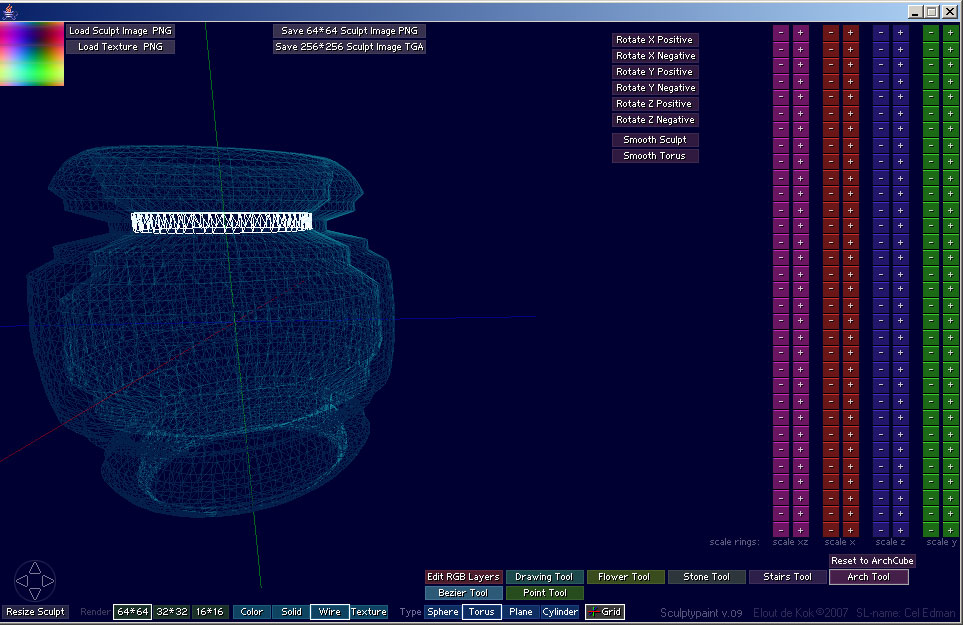
Go to the 'Arch Tool' and start to scale the different rings in XZ, it's handy to put the model on wireframe now.
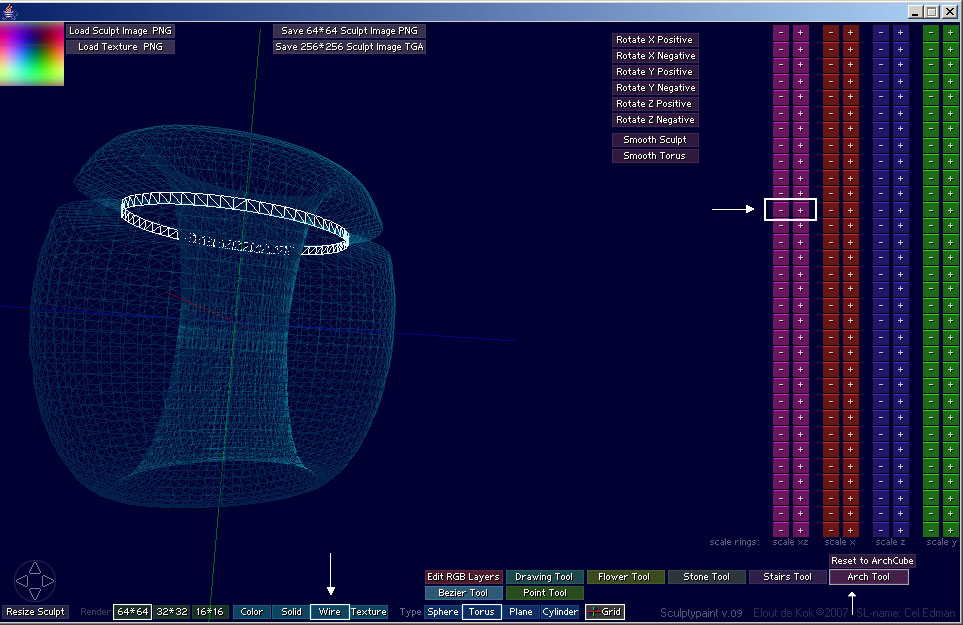
Scaled almost every ring now.
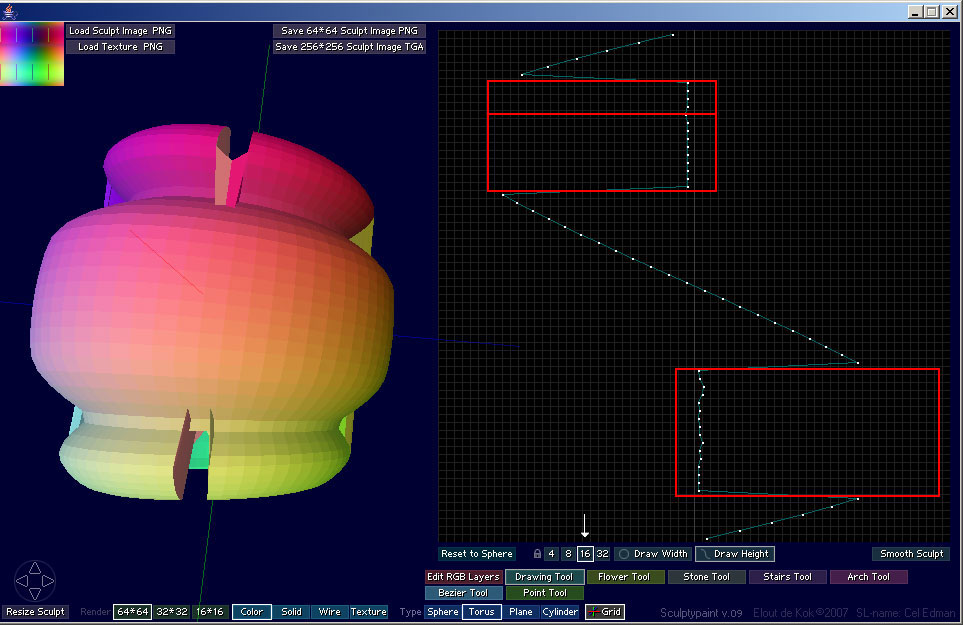
I go to the 'Drawing tool', put the model on Color, Select 'Draw height', and click 'Smooth Sculpt' 2 times.
I select where the lock icon is the [16] (4,8 or 32 can do as well for more or less detail)
Now I drag / draw in the red area the points to the middle.
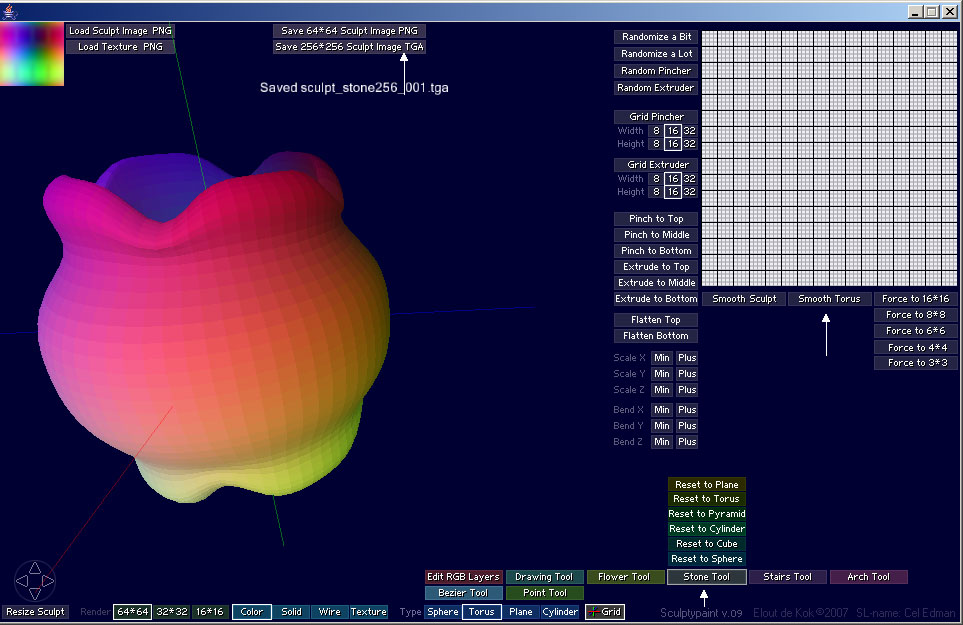
I go to the 'Stone Tool' click the 'Smooth Torus' button a few times, and save the Sculpt 256*256. The sculpted image is saved in the same folder as sculptypaint.
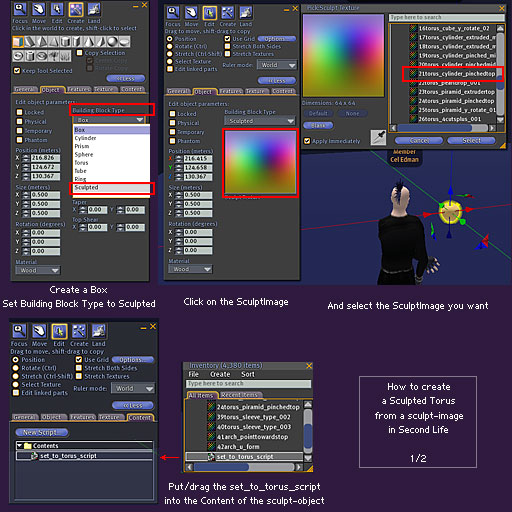
Next part is a bit more complicated.. getting a working torus in Second life. First you got to upload the sculpt you created. The next screens are from my Beads and torus pack, explaining how to get torus shapes to work.
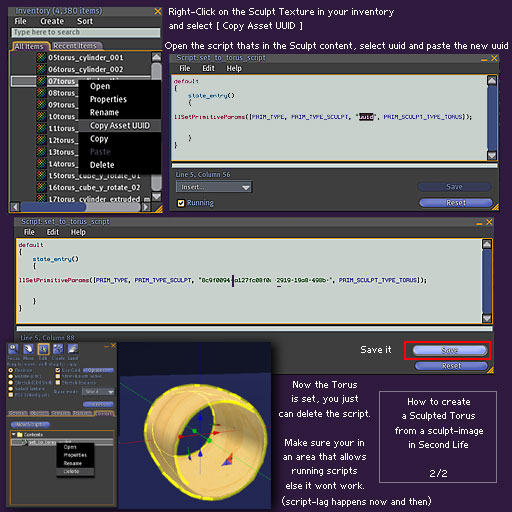
script to create a torus sculpt in SL:
default
{
state_entry()
{
llSetPrimitiveParams([PRIM_TYPE, PRIM_TYPE_SCULPT, "copy here your sculpt UUID", PRIM_SCULPT_TYPE_TORUS]);
}
}
If you upload your sculpt, and 'Rez' it in SL. It creates the standard type sphere. this means it's not 'hollow in the middle'. The only way to create a torus shape at the moment is using a script.
Create a new script in your sculpt object, and past the script posted here above in place. Right click on you sculpt texture, and select 'Copy asset UUID', paste this on the space "copy here your sculpt UUID" Do this in an eviroment/sandbox that allows running scripts, else it wont work. If the torus shape is set with the script, you just can delete the script.
I see people using this this method/tutorial, to create also all kinds of sleeves, and bottom parts of pants as well.
< Back